Residential Design Guide
(2) SECTION 8
Detailed design
A series of guidance sheets covering detailed design situations has been published by the Council. These are reproduced in the appendices to this document and are also issued as stand- alone guidance sheets with their accompanying notes. They cover the following issues:
- Side extensions on detached dwellings
- Side extensions on semi-detached dwellings
- Overlooking
- Corner properties
- Distance separation and open spaces
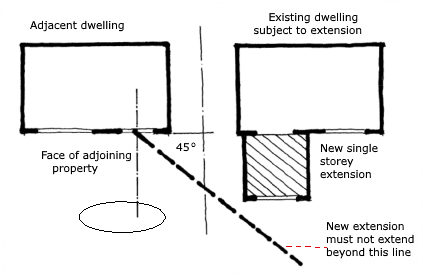
- Rear extensions and the 45˚ rule
- Roof dormers
- Extensions to terraced houses in conservation areas
- Side extensions should be no more than 2/3 of the width of the original property
- There should be a set back of 450mm
- There should be a set down of 225mm
See appendix 3 for details
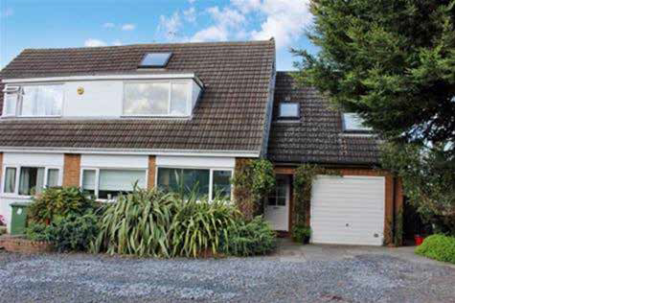
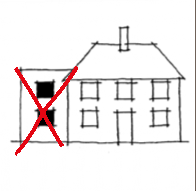
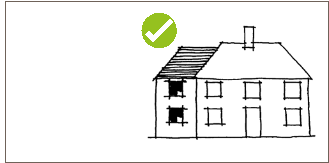
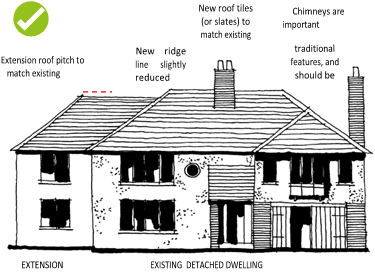
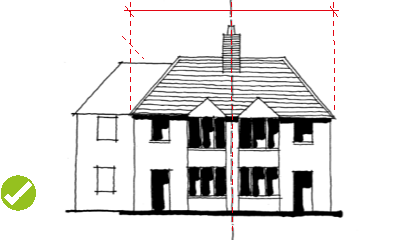
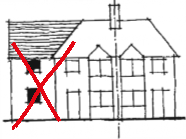
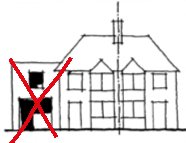
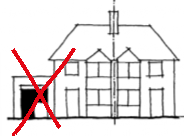
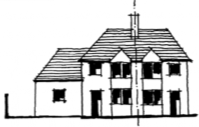
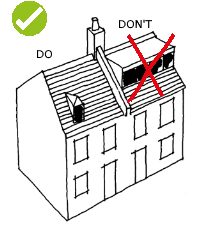
Side extensions for detached dwellings
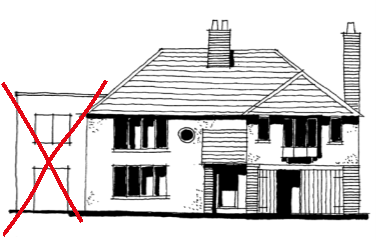
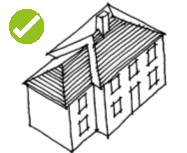
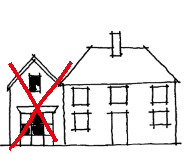
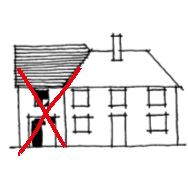
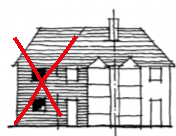
Fig 1 Traditional pitched roof detached dwelling with totally inappropriate flat roofed extension
- It is important that side extensions should relate to the design of the original building with matching roof shape and pitch. (Hipped or Gabled).
- Extensions to detached dwellings should always seek to enhance the overall design unity.
- Set backs to ridge levels and facade junctions helps to ensure that new extensions remain subordinate to the existing dwelling. For a facade this also helps to overcome visual problems associated with slight variations between existing brickwork dimensions and the new work.
- There may be scope in some instances to have a contemporary architect designed 'modern' extension. Quality of design, detailing and materials will be significant considerations. Each case will be viewed on its own merit.
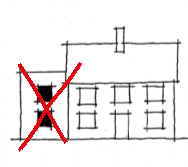
Hipped Roofs

Gabled Roofs
Side extensions for semi-detached dwellings

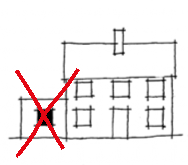
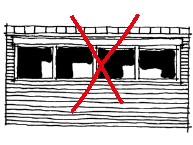
Flat Roofed Extensions
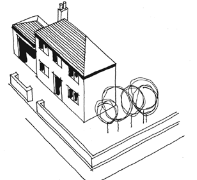
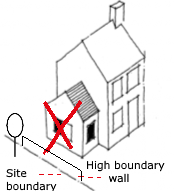
Corner plots
Corner plots are often larger than those of neighbouring dwellings; They can provide welcome open space in the streetscape-often enhanced by landscape planting.
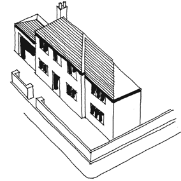
Side Extensions & Semi Detached Dwellings
The design and form of any extension to a semi detached dwelling should be compatible and generally subservient to the existing property. Windows, doors and other features should line through.
Flat roofed extensions
In certain discrete locations contemporary extensions to traditional buildings may be acceptable.
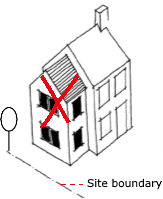
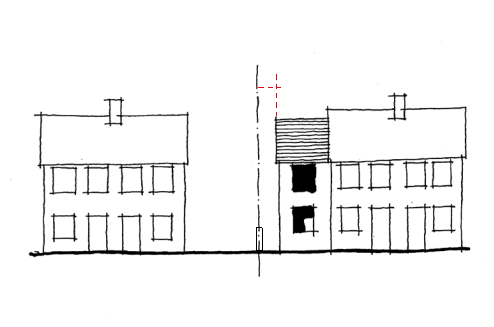
Overlooking
 Fig
9
Fig
9
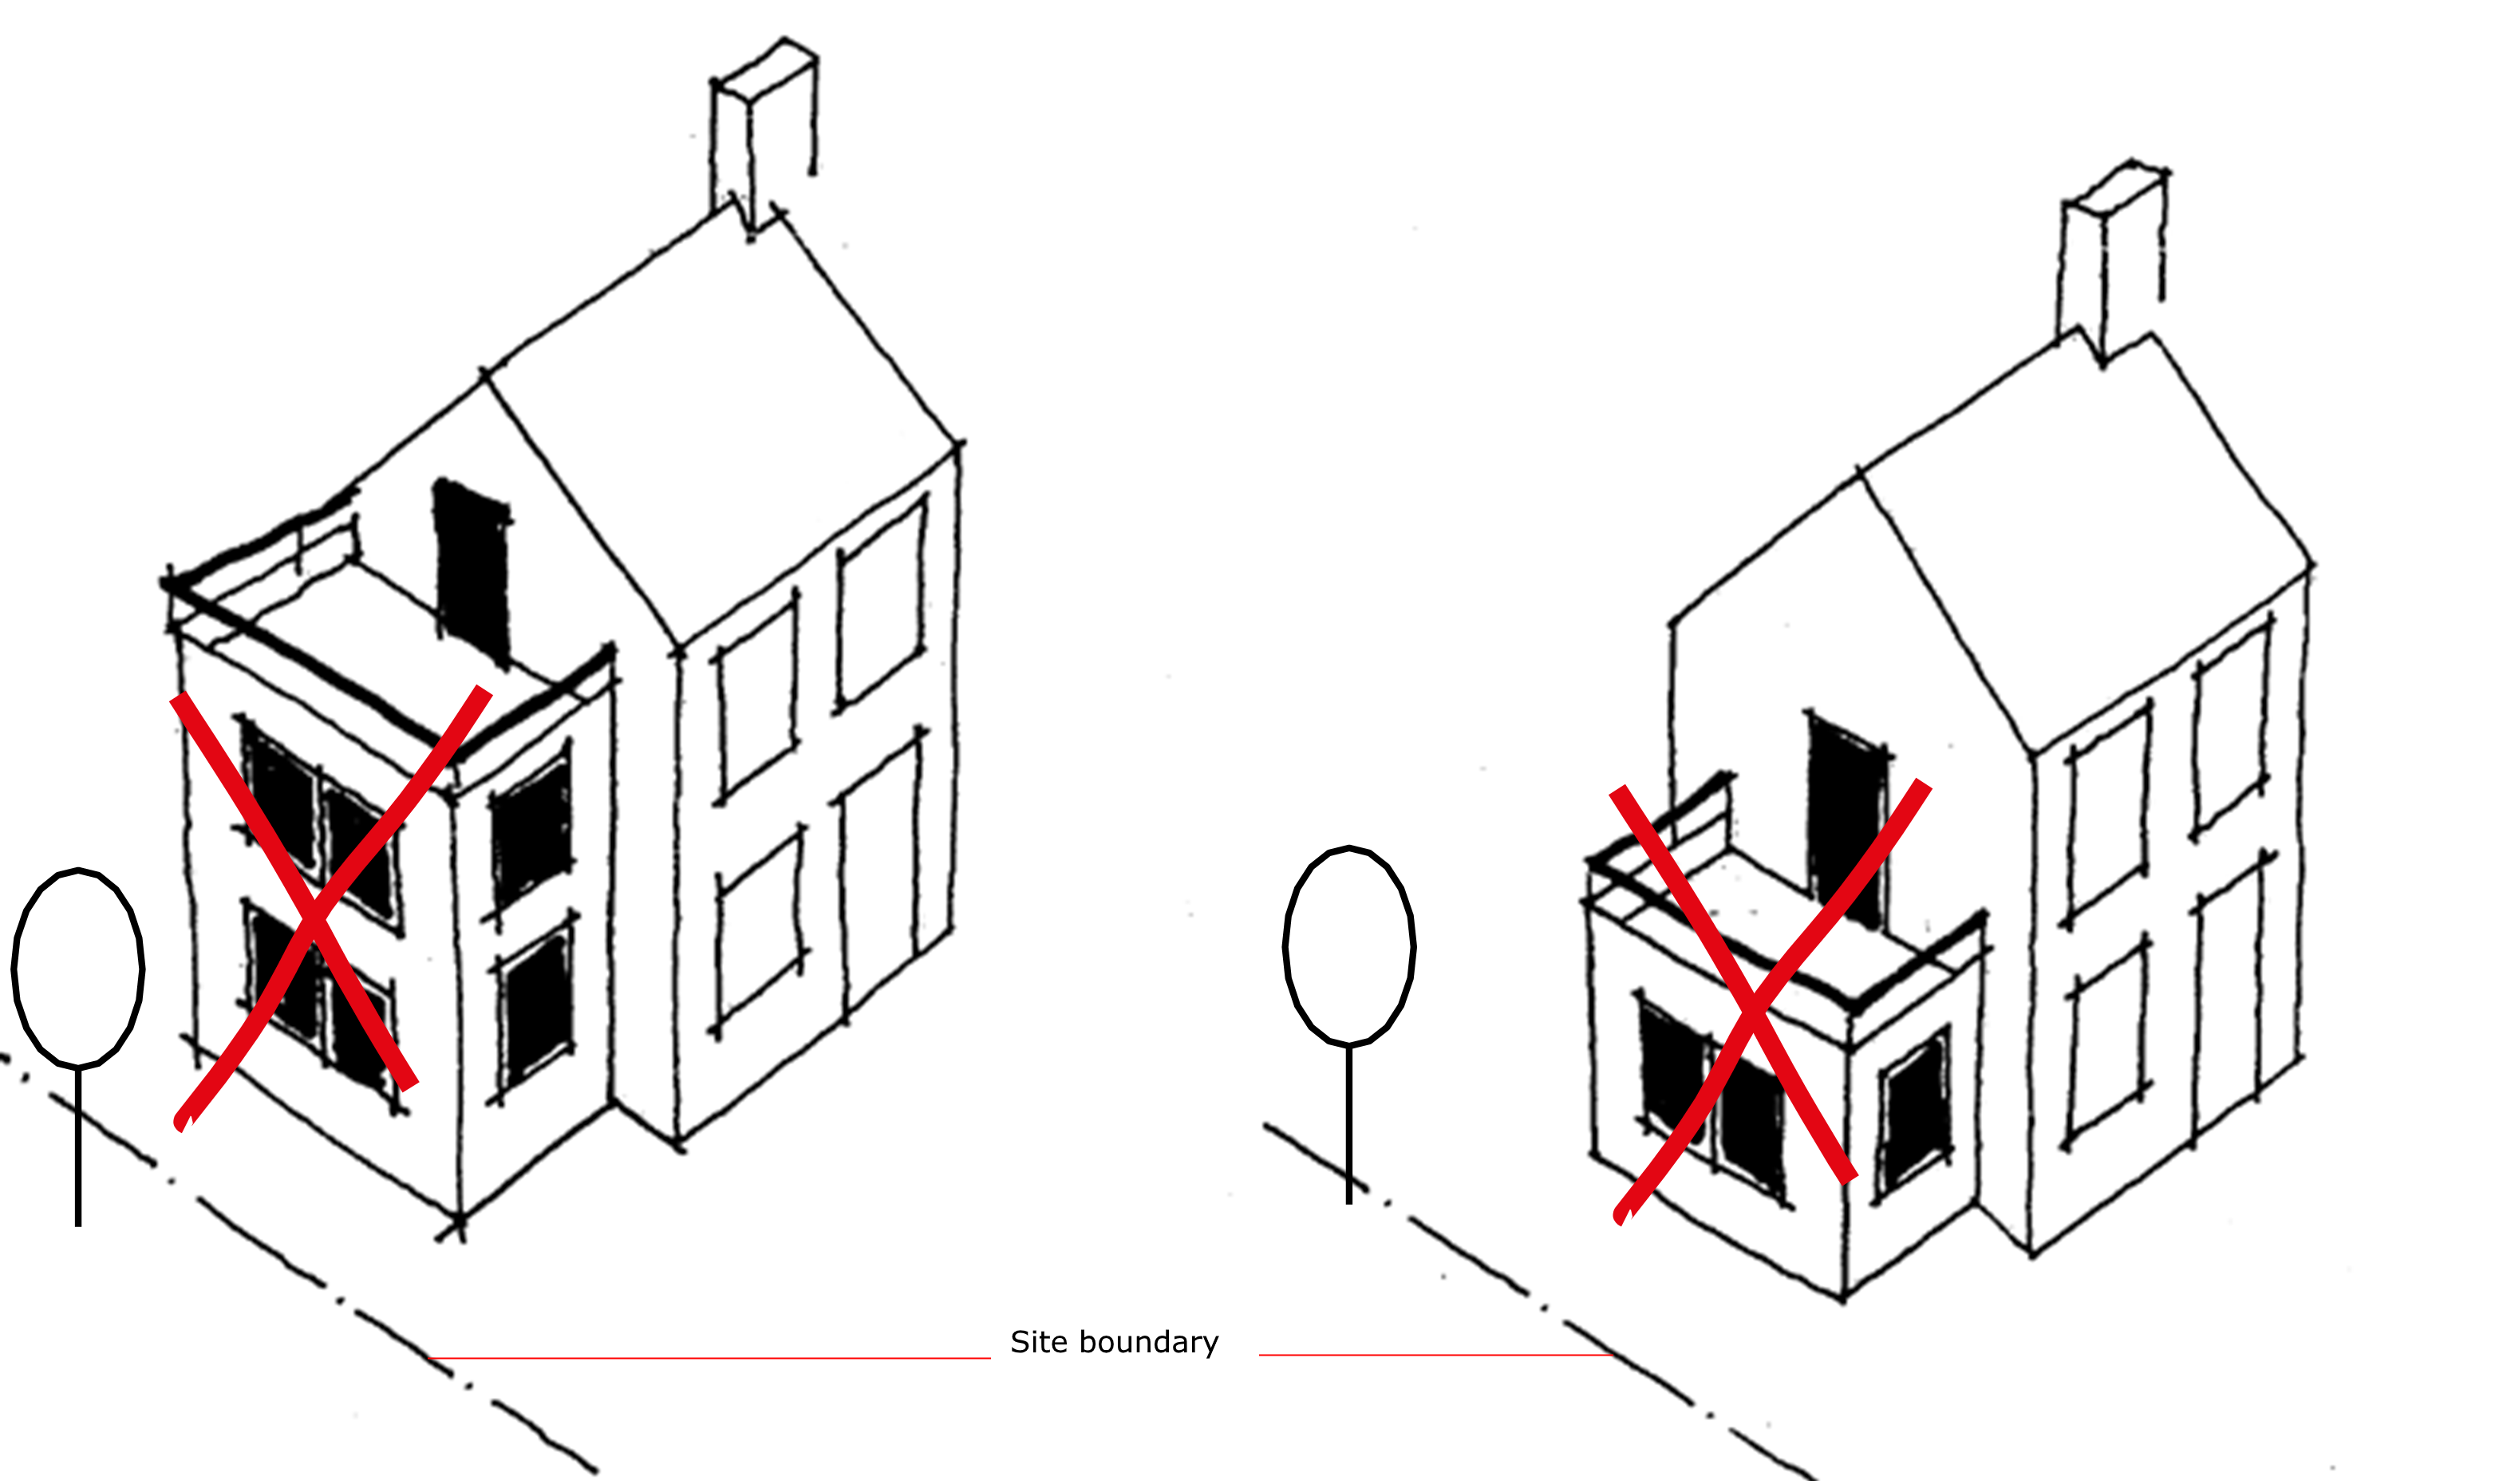
Two Storey Side Extension with balcony
Single Storey Side Extension with balcony
Site boundary
- Side facing windows in extensions of two or more storeys, where they overlook private gardens will not normally be permitted if they add significantly to existing levels of overlooking.
- For habitable rooms windows overlooking adjacent properties are not acceptable.
- In certain instances small non opening windows with obscure glazing may be acceptable for non habitable rooms.
- Flat roofed extensions to the side of an existing dwelling with balconies and/or roof gardens are not acceptable where there is a potential for overlooking.
Two Storey Side Extension
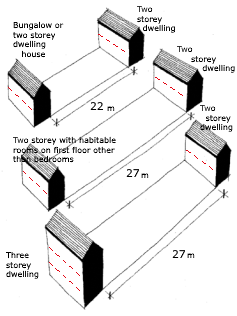
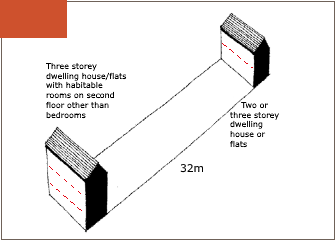
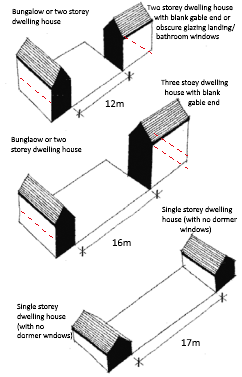
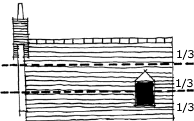
Distance Separation - Side Extensions

Distance Separation - To Avoid Terracing Effect
Distance Separation Between Fronts & Backs
Overlooking : Patios and Balconies
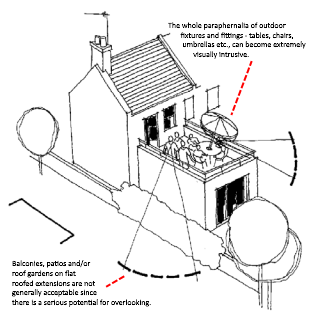
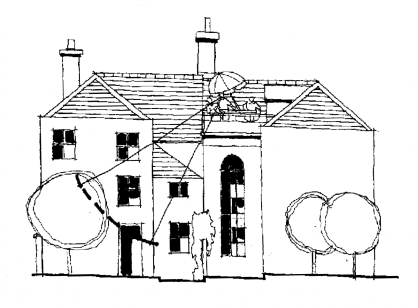
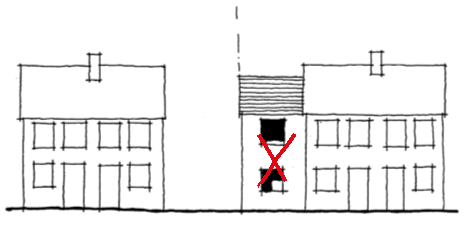
Fig 17 Generally patio/ balcony infilling at roof level is not considered appropriate. Such elements can be both extremely visually intrusive and can result in considerable and inappropriate overlooking problems.
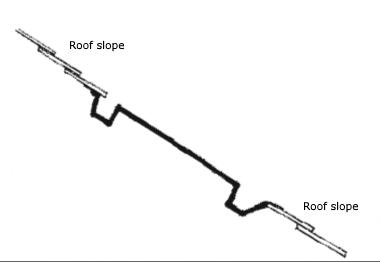
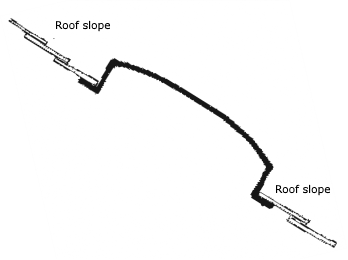
Single Storey Extensions – 45 Degree Rule

Two Storey Extensions – 45 Degree Rule
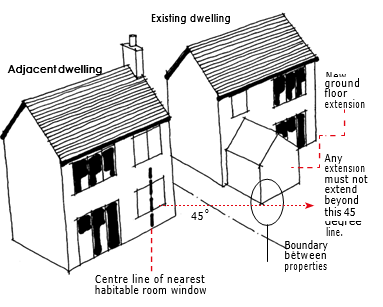
- 45 degree taken from the centre point of the nearest window or windows of a habitable room. The line is taken from the original face of the adjoining property.
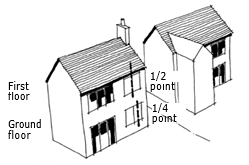
- For two storey extensions, the 45 degree line at ground level is taken from the nearest ground floor 1/4 point of habitable room window.
- For two storey extensions, the 45 degree line at first floor level is taken from the nearest 1/2 (centre) point of a habitable room. (see appendices for supplementary planning guidance)
Roof Dormers

Details - Rooflights Good Practice in Listed Buildings
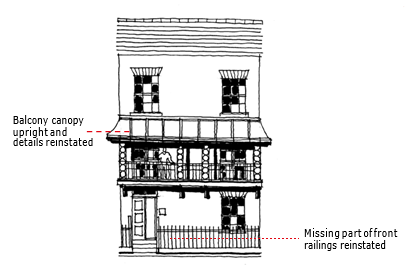
Balcony and Railings

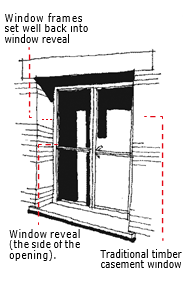
Details - Windows

Roof dormers
Dormer windows will only be permitted where they can be inserted without damaging the character and appearance of the building and the general area and without unreasonably affecting the amenity of the neighbours.
Dormer windows should be avoided on prominent elevations that can be clearly viewed from the street; kept well below the ridge line and away from the edge of roofs.
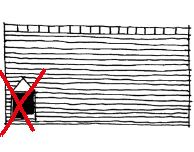
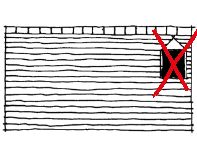
- No dormer should be erected within 1m of the eaves line of the house; there should be a minimum distance of 1m between a dormer window and each side boundary of the property.
- Do use traditional modest pitched roof or lead roof dormers.
- Do not introduce felted flat roofed dormers of modern style unless on an appropriate modern house
There is a series of guidance and permitted development self assessment forms to help you determine whether or not you need planning permission for your proposals, available on our website
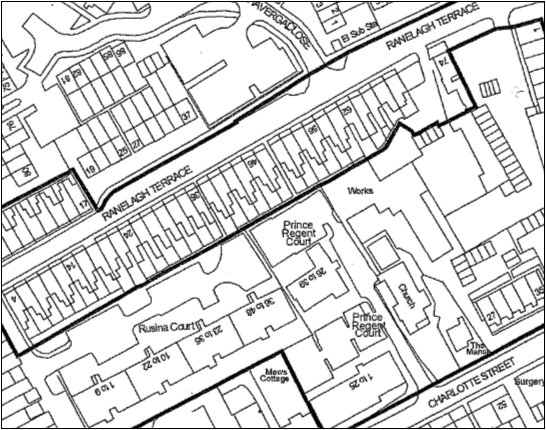
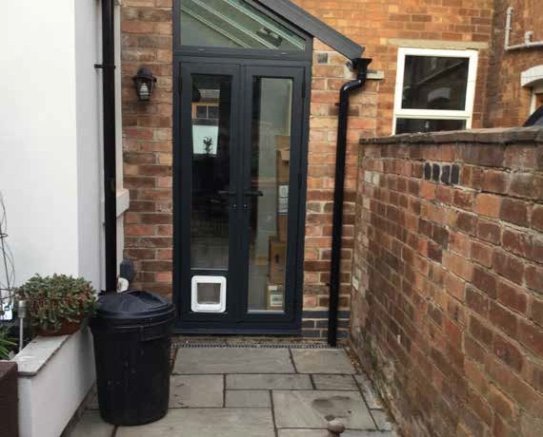
Extensions to terraced houses in Conservation Areas
Much of the District's urban Conservation Areas, particularly in Royal Leamington Spa, are comprised of rows of 19th Century terraces, which are characterised by rear wings and side courtyards with modest rear gardens.
In order to strike a reasonable balance between allowing some scope to extend these properties and protecting the character and appearance of the Conservation Areas together with the living conditions of the occupiers of neighbouring properties, the District Council suggest a side courtyard extension which adheres to the following design principles:
- Include a set back and have a glazed roof with a largely glazed end wall to reflect the open side courtyard feature which formed part of the original layout.
- Set the eaves height at no more than 2 metres, which is the equivalent of the height of the boundary wall which can be built without permission under the Government's impact based permitted development rights together with a glazed roof in order to mitigate the impact on loss of light and outlook from the neighbouring properties.